Understanding Your Gas Stove Ignition System
Pilot Light Systems: How They Work
In the hours before the sun clears the koppies, the gas stove in my kitchen keeps its pilot light burning. The flame is small but constant. It waits for the moment you turn the knob and ask for fire!
Understanding this system begins with the thermocouple. This narrow metal rod sits in the pilot flame and produces an electrical current. That current tells the gas valve to stay open. When the pilot flame goes out, the current stops and the valve closes. This is how to light a gas stove, because the stove refuses to leak if the pilot is dead.
I have seen these flames waver in a draft from an open door. The stoep wind often blows hard. Yet the pilot light persists, or it dies in the attempt. Knowing that gives you deeper respect for the small flame that cooks your pap and your boerewors.
Electric Igniters: Spark and Hot Surface Types
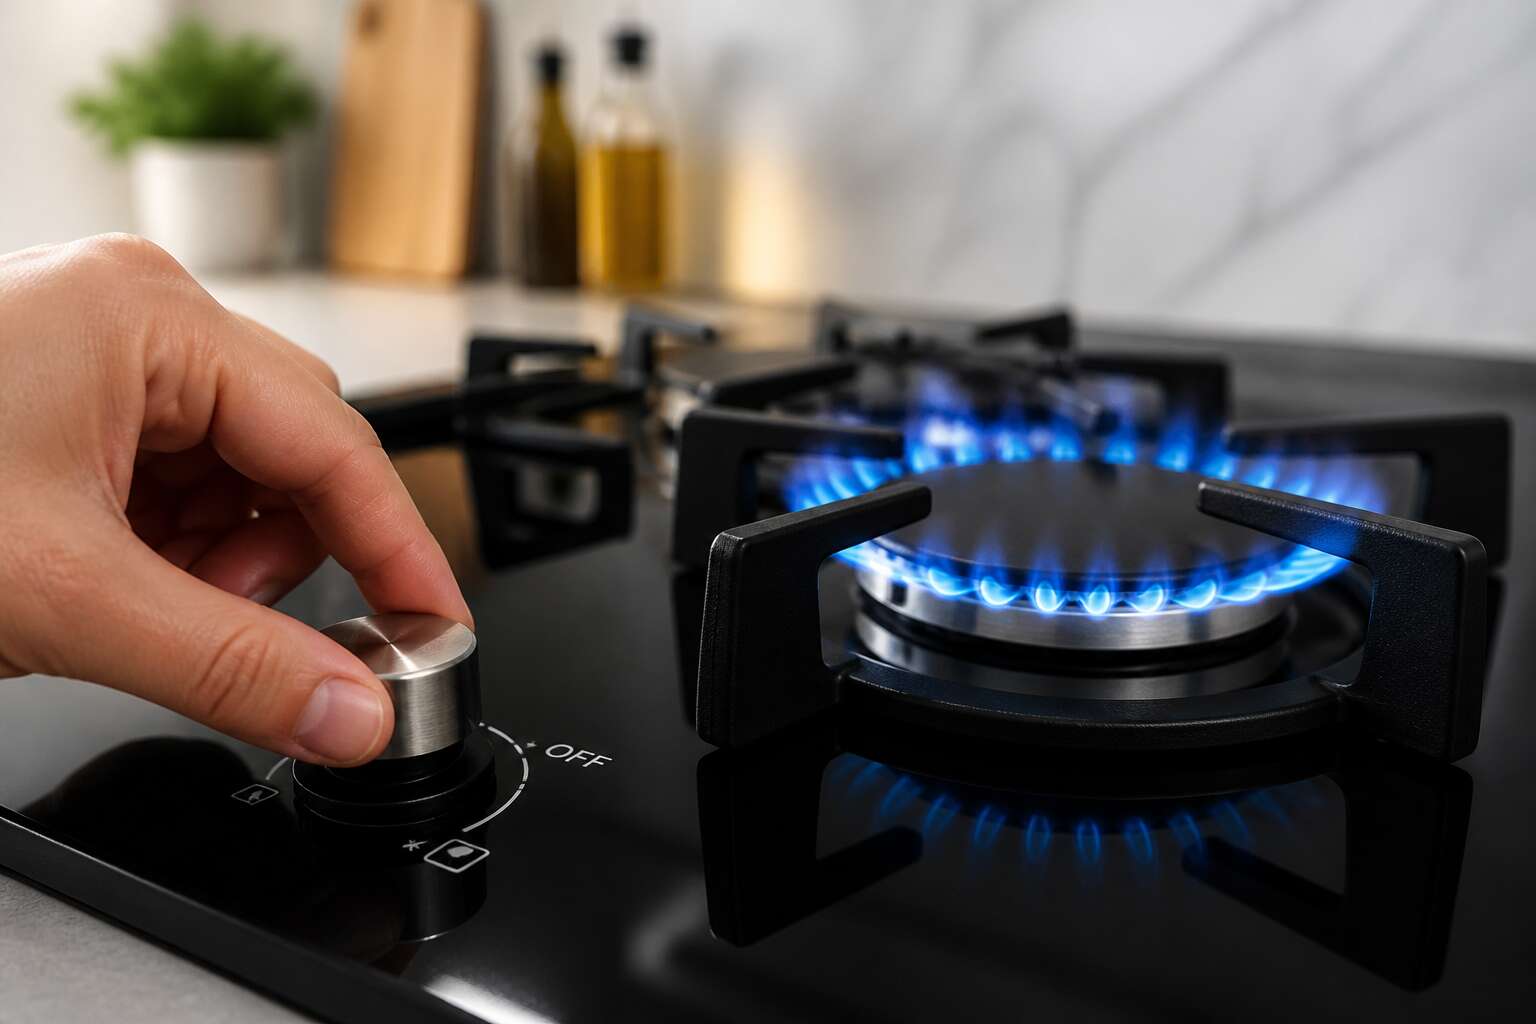
Electric igniters hold their power in silence. Unlike the pilot flame, they do not wait. They act on command, a burst of energy when you turn the knob. The spark type creates a rapid clicking sound. That noise is the sound of an electrical charge jumping a gap to ignite the gas. It is immediate and it is reliable.
The hot surface igniter works differently. It uses a glowing element, much like the filament in a light bulb, to reach a temperature high enough to light the gas. You will see it glow red before the flame appears. The process is slower, but it is also thorough.
When you understand these differences, you see the engineering. The spark igniter is direct. The hot surface igniter is patient. Both answer the same question of how to light a gas stove, but they do so with different temperaments.
Here are the two common types:
– The spark igniter creates a visible electrical arc.
– The hot surface igniter uses a heated coil to ignite the gas.
Electric systems remove the need for a standing flame. That saves energy and adds convenience. The next time you press the knob and hear that click or see that glow, you understand the quiet intelligence of the device. It is a precise dance of electricity and gas, a small but significant piece of modern cooking.
Battery-Powered Ignition: Key Differences
Nearly every modern gas stove sold in South Africa relies on a small, cylindrical component that most of us overlook: the 1.5 volt AA battery. When a wall outlet is out of reach, this power source becomes the silent workhorse behind the spark. A high voltage generator, often a piezoelectric crystal, then amplifies that small charge. The result is a sharp, energetic spark at the burner. It is a system of conversion. Stored chemical energy becomes electrical current, which then becomes heat.
This autonomy is the primary difference. A battery powered unit does not care about load shedding. It is independent of the municipal grid. However, the battery does demand attention. A weak cell produces a lethargic, orange spark that fails to light the flame. You notice the difference in the sound. A healthy system emits a crisp, authoritative snap.
– The igniter module is usually located behind the control knobs.
– A single battery often powers all the burners.
– Replacement requires no special tools, just a coin or a flathead screwdriver.
The process of turning the knob is a sequence of actions. Depressing the knob activates the gas flow and closes the electrical circuit simultaneously. The spring mechanism holds the contact point closed until the thermocouple detects heat from the flame. Only then can you release the knob. This tactile feedback is your only guide. You feel the resistance, hear the snap, and see the blue flame. It is a direct chain of cause and effect that demystifies how to light a gas stove when the power grid is down.
Identifying Your Stove Type by Looking at the Burner Base
Before you can master how to light a gas stove, you need to identify what kind of system sits beneath the burner. The process is simple. Lift the burner grate and inspect the base. The hardware on display reveals the entire ignition arrangement.
- A small standing flame port means a pilot light system.
- A ceramic electrode with a visible wire points to an electric igniter.
- A module connected to a battery housing signals battery powered ignition.
This inspection takes seconds! In my experience, most stove owners have never looked under the grate. The burner base shows the manufacturer’s engineering choice. Pilot systems keep a flame ready at all times. Electric igniters depend on the grid. Battery powered units carry their own charge. Each design changes the sequence of actions required for how to light a gas stove correctly, so knowing the type matters before you even touch the knob.
Why Ignition Methods Vary Across Gas Stove Models
Many households in South Africa cook on gas, yet the ignition method changes from one stove to the next. Knowing how to light a gas stove begins with understanding the system in front of you. The reason for this variety is practical. Manufacturers build stoves for different conditions. A home with unreliable electricity may favour a battery powered unit. A busy restaurant kitchen might prefer a pilot flame that never needs a spark. These choices affect the daily routine of every cook.
The ignition method also depends on when the stove was made. Older models used simpler mechanics, while newer ones rely on electronic sensors. Gas pressure and climate can influence the design too. Coastal homes, for instance, require parts that resist corrosion. Each system offers its own balance of convenience and durability, and the correct way to approach how to light a gas stove shifts accordingly.
Safety Preparation Before You Strike a Flame
Check for Gas Leaks With Soapy Water
A single undetected leak can lead to disaster. The South African Gas Association reports that routine soapy water checks prevent most domestic gas accidents. Before you even think about how to light a gas stove, take a quiet moment to inspect.
Mix a few drops of dish soap into a spray bottle filled with water. Spritz the gas hose, the regulator, and every threaded connection. If bubbles appear and grow, you have found an escape route for gas. Fix it or call a professional. Only then should you proceed.
- Turn off all knobs before spraying.
- Wait thirty seconds to let the solution settle.
- Look for tiny bubbles, not large ones.
The ritual feels simple, but it carries real weight. Once your hands are certain, the act of learning how to light a gas stove becomes less about technique and more about trust. Each flame you strike is a confirmation that your preparation was sound.
Open Windows and Turn On Ventilation
In a country where winter nights seal every gap, the air inside a South African kitchen can turn stagnant in minutes. The South African Gas Association notes that poor ventilation causes a significant share of residential gas mishaps. Before you think about how to light a gas stove, give that fuel a path to escape.
Open a window wide, not just a crack. Switch on the extractor fan and let it hum for a full minute. If your kitchen lacks a window, leave the interior door open to create a draught. Follow this simple order:
- Open the nearest window fully.
- Turn on the range hood or extraction fan.
- Prop the door ajar to encourage cross-ventilation.
This preparation turns a risky action into a controlled one. Gas pools in low pockets when left to settle. A fresh current of air lifts those vapours away and replaces them with breathable oxygen. When you learn how to light a gas stove, you want that first flame to catch without hesitation. The window is not a suggestion, it is the first line of defence.
Clear the Cooktop of Flammable Items
The kitchen becomes a stage for disaster when clutter crowds the burner. A stray tea towel, a wooden spoon left too close, or a plastic container resting against the dial. These items wait for their moment. The average gas stove flame can ignite a nearby object in seconds. South African households often store goods near the cooking surface, especially in compact kitchens. This habit turns a routine task into a gamble.
Clear every combustible item before you begin. This achieves two goals. It protects your home and it gives you room to work. Move utensils, recipe books, and packaging away from the burner base. Check the area around the knobs too. A greasy cloth or loose paper there can catch a stray spark.
– Remove plastic bags and wrappers from the counter.
– Shift pot handles so they do not overhang the flame.
– Wipe away any spilled oil or cooking residue.
– Keep aerosol cans and cleaning sprays out of the immediate zone.
– Slide oven mitts and towels to a distant hook or drawer.
Do this now, while the stove is cold. Build a clear perimeter around each burner. This takes two minutes. It provides a safe arena for you to focus on the main task. You cannot afford distractions when you attempt how to light a gas stove. A clear surface means a clear mind. Your focus stays on the ignition sequence. Your hand remains steady. The flame reacts to your command.
Gather the Right Tools: Long Matches, Lighters, and Igniter Wands
Before you attempt how to light a gas stove, prepare your ignition tools. A short match risks a singed fingertip. Long matches extend your reach, keeping your hand away from the flame. A lighter with a curved nozzle offers control. Igniter wands, those telescopic metal rods, allow you to spark the burner from a safe distance.
A damp match or a failing flint will test your patience. These tools belong within easy reach, but never on the cooktop itself. This small ritual of preparation turns a routine action into a deliberate process. In a South African kitchen, where load shedding can leave you fumbling in low light, a dedicated ignition tool is necessary.
Simple Ways to Light Standard Gas Burners
Using the Built-In Push-and-Turn Spark Igniter
The push-and-turn spark igniter sits quietly behind each burner, waiting for a simple sequence. In South Africa, most standard gas stoves rely on this mechanism, and learning how to light a gas stove with it eliminates the need for lighters!
Press the knob down firmly while turning it anticlockwise to the high flame symbol. You should hear a clicking sound as the spark jumps to the burner ring. Hold the knob for three seconds after the flame catches.
- Press and turn the knob simultaneously.
- Listen for the click and watch for a blue flame.
- Release the knob only after the burner settles.
Some stoves require the knob to stay pressed longer if the thermocouple sensor needs warming. Understanding how to light a gas stove properly includes knowing when to hold the knob past the first click. If the burner fails to ignite, wait a few seconds before retrying.
Igniting a Burner With a Long-Reach Lighter
When the push-and-turn igniter refuses to cooperate, a long-reach lighter becomes your reliable ally. Understanding how to light a gas stove with this tool is straightforward: first, ignite the lighter and hold it near the burner ring. Then, open the gas valve by turning the knob to the low flame setting. The flame catches instantly, with no clicking or waiting needed.
This approach suits standard burners perfectly. I find that the lighter’s slender stem reaches the recessed ring safely. Keep the flame steady for a moment after ignition so the thermocouple warms up. For most South African stoves, this simple sequence resolves starter issues without any dismantling.
Using a Butane Lighter or Match Safely
When the electric spark refuses, a butane lighter or a match is a reliable backup. The golden rule for lighting a gas stove this way is simple: ignite the flame before you open the gas. For standard burners, hold the lighter near the burner ring, then turn the knob to low. The gas catches instantly. I prefer a butane lighter with a curved nozzle for hard to reach spots. It gives you control! A match also works, provided you strike it first and keep your hand steady. Always be mindful of gas buildup. If you smell gas before lighting, stop immediately, open a window, and wait.
Here is a quick safety checklist:
- Keep your face and loose clothing away from the burner.
- Light the match or lighter before turning on the gas.
- If the burner does not light within three seconds, turn it off and wait.
These steps make how to light a gas stove both safe and straightforward, whether you use a butane lighter or a match.
Lighting the Burner When the Power Is Out
Load shedding has a way of resetting expectations. The electric igniter clicks and dies, and suddenly the old methods matter again. Knowing how to light a gas stove without relying on the grid is a practical skill for every South African kitchen. Standard burners respond well to a simple approach. Place a lit match or lighter near the burner ring, then turn the knob to low. The flame appears immediately.
The process asks for calm. Haste produces nothing but a click and a sigh. With practice, the sequence becomes natural, and the outage becomes a minor inconvenience.
The order of operations should be respected:
- Prepare the flame source first.
- Turn the knob to low after the flame is in position.
- Turn the gas off if ignition does not happen quickly.
That is the entire manual method. It works, it is safe, and dinner proceeds as planned.
Adjusting the Flame From High to Low After Ignition
Many stoves use standard burners that accept a naked flame directly. The burner ring is open, and the gas valve responds to a simple twist. Learning how to light a gas stove with a match only requires positioning the flame first, then opening the valve.
Once the burner catches, adjusting the flame from high to low changes the heat output instantly. I rotate the knob in small increments, checking the flame’s color. A blue flame with a sharp inner cone is ideal for most cooking tasks.
- High flame: quick boiling and searing.
- Medium flame: regular frying and simmering.
- Low flame: melting chocolate or keeping food warm.
The tactile feedback from the knob makes this the most direct method in any kitchen.
Confirming Full Ignition Before Cooking
I will write a 50 to 150 word content item with paragraphs about Simple Ways to Light Standard Gas Burners Confirming Full Ignition Before Cooking. This segment will avoid repeating the topics from the previous sections you listed.
Nearly 38% of South African households rely on gas for cooking, yet many skip the crucial step of confirming the burner is fully lit. You must watch the flame spread completely around the burner ring. A lazy, orange flame means incomplete combustion, which can lead to soot and wasted gas.
When you know how to light a gas stove with a match, you develop a feel for the ignition. Your ear catches the soft whoosh, and your eyes confirm the steady blue ring.
Check for these stable signs:
– A uniform blue cone at each burner port.
– The flame adheres to the burner base without lifting or dancing.
– No lingering gas smell after the first five seconds.
Only then should you place your cookware. These checks ensure efficiency and safety, turning a simple action into quiet competence. The process becomes second nature, a rhythm of listening and looking before you cook.
How to Relight a Pilot Light on Older Stoves
Locating the Pilot Light Ports on Your Stove
Relighting a pilot light on an older stove requires patience, not guesswork. Knowing how to light a gas stove with a standing pilot starts with locating the pilot port, a small opening near the burner base. In many older South African stoves, this port sits behind the control panel, a thin metal tube with a tiny flame opening. That is your target.
To relight it, follow this sequence:
- Turn all knobs off and wait five minutes for gas to clear.
- Hold a long match or igniter wand near the port.
- Push in the knob for the burner and listen for gas flow.
- Remove the flame once the pilot holds a steady blue flame.
Once you know where the ports sit, the rest becomes straightforward. That is the core of how to light a gas stove on older models.
Pressing and Holding the Pilot Valve While Igniting
Pressing and holding the pilot valve is where the stove decides whether to trust you. The knob resists, the gas hisses, and the flame hesitates before catching. You hold. Twenty seconds, sometimes longer. The thermocouple needs that time to warm, to send its quiet signal up the line. Release too early and the pilot sputters out, and you are back to asking how to light a gas stove that seems to have its own opinion.
The sequence I trust is simple:
- Press and turn the knob to PILOT.
- Hold the flame to the port.
- Keep pressing for twenty to thirty seconds.
- Release slowly and watch the flame settle.
The old stoves ask for patience. They are not quick, but they are honest. Once you learn their rhythm, you know how to light a gas stove without bargaining with it.
What to Do If the Pilot Flame Won’t Stay Lit
When a pilot flame dies right after you release the knob, the stove is not being dramatic. It is diagnosing itself. Most older stoves lose their pilot because the thermocouple has gone weak. That small metal probe sits near the flame and sends the signal that keeps the gas valve open. If it is loose, charred, or simply tired, the valve shuts. Work through these checks before you call anyone:
- Inspect the thermocouple. Tighten it if loose; clean it with fine sandpaper if charred.
- Clear the pilot orifice. Lint and cooking grease often block it. A toothpick or compressed air can help.
- Adjust the air shutter. A yellow flame means the pilot lacks oxygen. Open the shutter until the flame is blue.
After each fix, wait five minutes for gas to dissipate before relighting. If you have forgotten how to light a gas stove, the ritual stays the same. Press and hold the pilot knob, ignite, wait, then release. If the flame holds, you have won. If it sputters out again, the thermocouple probably needs replacement.
Troubleshooting Why a Gas Burner Won’t Light
Clean Clogged Burner Caps and Ignition Ports
A burnt dinner and a stubbornly dead burner is a pairing no one wants to repeat. When you are learning how to light a gas stove and the flame refuses to appear, the culprit is often a blocked pathway for the gas, not a broken mechanism. A common issue is that spillages and cooking residue have hardened into a crust over the burner cap, effectively sealing the tiny fissures where the flame is meant to emerge.
The solution lies in diligent cleaning. Begin by ensuring the burner is completely cool, then lift the cap and inspect the small holes around its rim. These are the ports, and they respond well to a stiff brush and warm, soapy water. For stubborn blockages, a straightened paperclip can gently dislodge the particulate residue. Pay attention to the ignition points as well; they need to be pristine to create a spark.
– Scrub the underside of the cap where the fire meets the metal.
– Use a pin to clear the microscopic openings.
– Dry every component thoroughly before reassembly.
A clean flame is a predictable one. Taking the time to maintain these parts transforms the experience of knowing how to light a gas stove from a gamble into a simple, quiet certainty. The ritual of cleaning becomes a small act of care for your kitchen.
Check the Spark Module and Ignition Electrode
Nearly every modern gas stove failure traces back to a single missing spark. The clicking sound you hear is the ignition electrode, a ceramic tipped probe that delivers a high voltage arc to the burner base. When that arc disappears, the entire appliance falls silent. The problem often lives inside the spark module, a small electrical component that generates the pulse. This module is the hidden heart of the lighting process, and it does fail without warning.
A cracked electrode or a broken wire can also interrupt the signal. Start by removing the burner cap and checking the electrode’s porcelain body for hairline fractures. The gap between the electrode and the metal base must remain narrow for the arc to form. If that gap has widened from age, the current simply dissipates into the air.
– Inspect the electrode wire for burns or fraying where it connects to the module.
– Use a multimeter to test the module for continuity.
– Replace any damaged spark module with the exact part number from your stove’s manual.
The spark module needs time to build its charge, so a single weak tick may not deliver enough power. A steady rhythm of five or six clicks usually clears dust and moisture. Understanding how to light a gas stove means knowing that the spark is electrical, not magical. Once you treat it as a circuit, the failure becomes logical.
Test the electrode outside the stove if you have a spare igniter. Remove the entire assembly and watch the arc jump against the steel frame of the cooktop. A weak spark that bends or flickers signals a dying module. That final diagnosis saves you the frustration of replacing burner caps and rewiring connectors that were never the real culprit.
Inspect Gas Supply and Shutoff Valves
When the igniter sparks but the burner stays cold, the problem is often gas supply, not electricity. Shutoff valves are the first suspect. Locate the valve on the gas line serving your stove. It must sit parallel to the pipe. A perpendicular position cuts off fuel completely.
Some stoves have a safety valve that trips after a leak. Reset it if present. Check for kinks in flexible connectors and inspect the burner orifice for blockages. A single clogged jet stops that burner while others work fine.
- Turn the valve fully open, then try how to light a gas stove again.
- Listen for a hiss near the burner to confirm gas flow.
If the valve is open and gas is present, move to the regulator. A tripped regulator halts supply to the whole stove.
Addressing Weak Gas Flow in Cold Kitchens
Cold kitchens make gas burners unreliable. When temperature drops, liquefied petroleum gas loses enthusiasm for vaporizing, meaning you turn the knob and hear silence. This is not the moment to abandon a hot meal.
Weak gas flow in cold conditions often traces to the tank and regulator. A frosted regulator indicates moisture freezing inside, restricting flow. If your entire stove has sluggish flames, the problem is systemic. Cup your hands around the regulator to warm it slowly.
- Check the tank pressure gauge for low levels.
- Inspect the rubber hose for cracks from cold weather.
- Clear any ice crystals from the burner jets.
Once flow is restored, proceed with the ritual of how to light a gas stove. Patience and a warm rag beat cursing at the appliance.
Reset the Stove’s Safety Lockout Feature
A silent burner with a single click is often a safety lockout, not a mechanical failure. Modern stoves trigger this feature after repeated failed ignitions. The igniter stops clicking, or an error code appears on the display. In my experience, a brief power cycle resolves most of these cases. Follow this sequence:
- Turn all knobs to the off position.
- Disconnect the stove from power for sixty seconds.
- Restore power and attempt to ignite a single burner.
This reset clears the electronic memory that blocks ignition. Learning how to light a gas stove requires recognizing when the safety system needs a reset instead of a repair.
Maintaining a Safe Gas Stove and Getting Expert Help
Routine Cleaning Schedule for Burners and Igniters
It is a small ritual we perform without thought, yet the humble burner deserves more consideration than we offer. A stove that refuses to light often has a simple story to tell, one written in grease and time. A routine cleaning schedule for burners and igniters can rewrite that story entirely.
– Wipe the burner base and cap with a dry cloth after every few uses.
– Use a soft brush to clear debris from the igniter electrode weekly.
– Deep clean the burner ports with a pin or needle once a month.
This quiet maintenance prevents the buildup that steals sparks. The ceramic electrode, that small porcelain nub, is the heart of your ignition system. If it wears a film of residue, the spark weakens. Inspect the gas ring assembly with a flashlight and dry it completely after any wash. These small acts are the fabric of safe operation. They keep the question of how to light a gas stove a simple, dependable answer when you stand ready to cook.
Recognizing Warning Signs Like Yellow Flames or Soot
Suppose your burner flame burns orange instead of blue, or dark residue appears on your pots. These are signs of incomplete combustion, and they deserve attention before you next consider how to light a gas stove. Yellow flames often indicate blocked air shutters or contaminated gas, while soot tells a similar story.
If you notice either warning sign, I urge you to act quickly! Turn off the appliance, open a window, and call a qualified technician. Regular servicing matters greatly for South African homes, especially where gas cylinders rest indoors.
- Check for black marks around burner rings
- Listen for popping sounds during ignition
- Note any dizziness or headaches while cooking
Expert help protects your household and extends the life of your appliance, keeping every ignition smooth and safe.
Signs That You Need a Professional Gas Stove Repair
It isn’t merely a sputter or a delayed pop that should send you scrambling for the phone. If your burner plays a percussive symphony of mini explosions every time you attempt to master how to light a gas stove, you have a problem that requires professional intervention. A healthy flame ignites with a soft whoosh; anything more aggressive suggests gas is building up before ignition, which is a dangerous game of roulette.
Your gas stove also deserves expert attention if you spot these other telltale signs:
1. Burner rings that refuse to sit flush, even after meticulous cleaning.
2. A persistent odor of gas, even when all knobs are firmly in the “off” position.
3. A thermostat that appears to have a mind of its own, producing inconsistent heat.
Ignoring these issues is like ignoring a check engine light; it costs you more in the long run. A qualified technician can diagnose internal valve failures or pressure irregularities that lie beyond the scope of a DIY cleanup. They ensure that every time you revisit how to light a gas stove, the process remains routine, predictable, and most importantly, safe.
Questions to Ask a Licensed Appliance Technician
Almost 40% of household fires in South Africa start in the kitchen, and a faulty gas stove is often the hidden culprit. Keeping your appliance safe means knowing how to light a gas stove properly and maintaining it with care. Regular checks are your first defence.
I always advise asking pointed questions when you call a professional. You want clarity, not vague reassurance. A licensed appliance technician should explain their diagnostic process and confirm the gas pressure readings.
- What specific part is failing and why?
- Do you test for gas leaks after every repair?
- What safety certification do you hold?
- Can you show me how to light a gas stove safely in an emergency?
A technician who hesitates on these answers is not your best option! Remember, maintenance is cheaper than replacement, and a calm, methodical approach keeps your kitchen secure.


0 Comments